- Table of contents
If you were working with the Redmine API before, you know that in order to use it, you had to generate an API key and use that to make authorized API calls.
This approach, while relatively easy to work with, has a few drawbacks:
- Each API key is tied to a single user account, meaning that your application will always act as this user when interacting with Planio.
- There is no way to restrict what an application can do - an API key always grants it's user the same set of permissions that the user it belongs to has.
OAuth 2 defines a mechanism to restrict applications to a certain scope. Further, users need to explicitly grant access to an application before it may act on their behalf. When doing so, they will be informed about the scope, that is, what data the application is going to have access to. In the same way, a user may later decide to revert this decision and revoke access for an application at any time.
Let's look a minimal example for you to try out.
1. Create an OAuth Application in your Planio Account
In order to use OAuth with Planio, you have to create an Application first. This will generate a unique identifier for your API client, as well as a secret. Both will be used to authenticate your application when it's communicating with Planio.
Go to Your Avatar → Administration → Applications and click New Application.
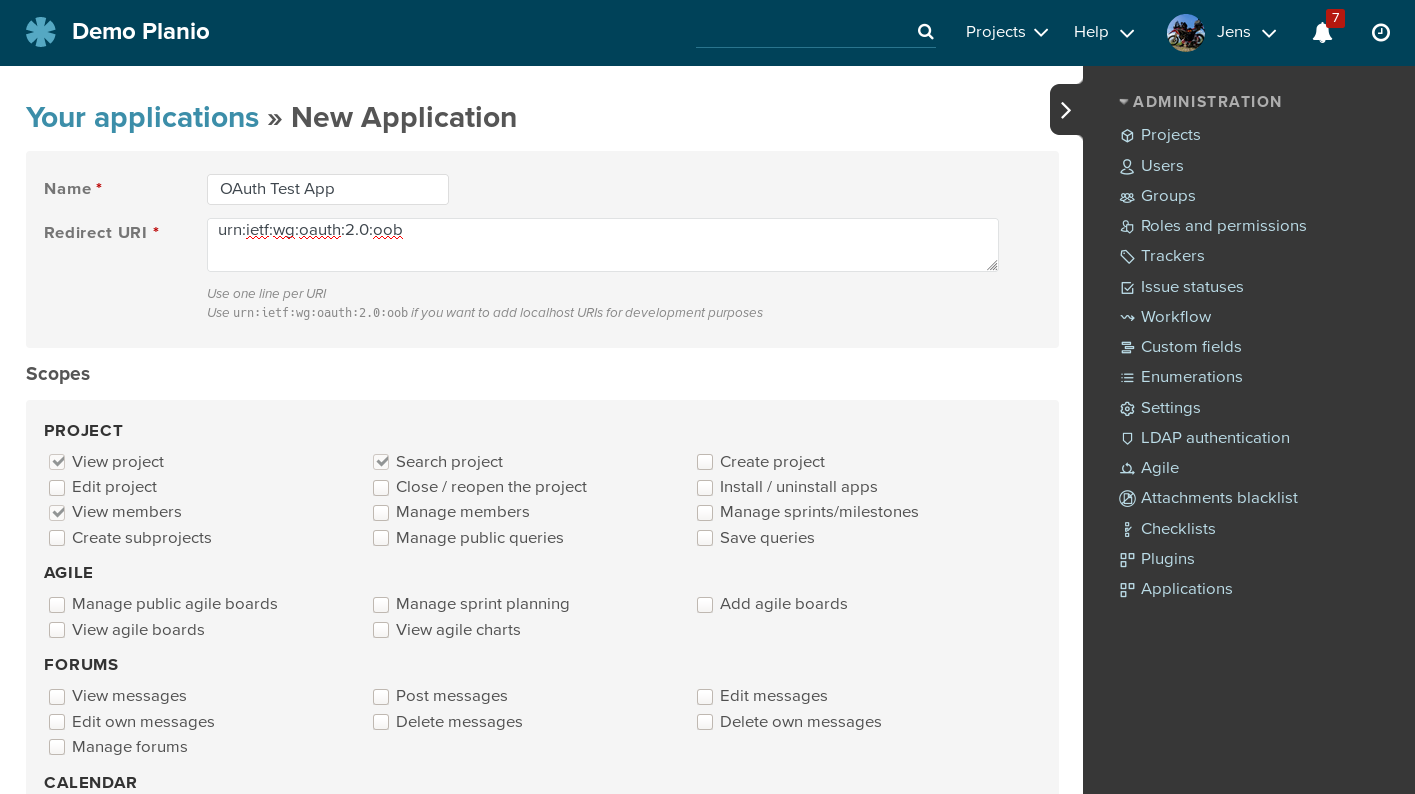
You may enter any descriptive Name for your application. This will be shown later to users when they are about to authorize your app.
The Redirect URI is the location where Planio will redirect a user's browser to after they granted access to your application. The redirect will carry a code query parameter which holds an authorization code that's needed to retrieve the actuall access token later.
For now, enter urn:ietf:wg:oauth:2.0:oob as the Redirect URI. This special value tells Planio that this application is not reachable over the web. Instead, the authorization code will be simply displayed to the user for manual transfer to the client application requesting access.
Below, in the Scopes section, you decide what your application will be allowed to do. Don't be too generous here, and restrict the set of granted permissions to the minimum necessary. For now, just select the Add issues permission and hit Save below.
You will be redirected to a page that lists the details you just entered, along with the application's Application Id and Secret.
2. Build the OAuth 2 client
We'll be using the Ruby language and the OAuth2 Gem for this.
Of the various OAuth Flows that exist, Planio currently supports the most commonly used Authorization Code flow. Please refer to the OAuth 2 spec for more technical details. Any applications you create are considered confidential in the sense of the spec, which means that the application secret may not be disclosed. If you require support for a public application (for example a mobile app or an application running exclusively in the browser), please contact us.
Set up the client
require 'oauth2'

client_id     = '...' # your application id
client_secret = '...' # your application's secret
redirect_uri  = '...' # your application's redirect uri
site          = "https://your-domain.plan.io/" # your planio account's URL

client = OAuth2::Client.new(client_id, client_secret, site: site)
Authorize the Application
If you were building a real application, you would now send your user to some URL where they are prompted to grant access. Usually you don't have to construct these URLs yourself, but your OAuth 2 client library will do it for you:
client.auth_code.authorize_url(redirect_uri: redirect_uri, scope: 'add_issues')
# => https://your-domain.plan.io/oauth/authorize?response_type=code&client_id=...&redirect_uri=...
As scope, list all permissions you are planning to use. You cannot request any permissions that have not been selected when the application was registered in Planio, but you can choose to select less. Here, we only request the add_issues permission in order to be able to add issues.
Open this URL in your browser and you will be prompted for authorization, listing the permissions you are applying for.

Click Authorize, and take note of the Authorization code. If you had entered a real Redirect URI earlier, you would have been redirected to that URI now, with the authorization code as query parameter.
Retrieve an Access Token
With the authorization code you can now request an access token from your Planio account like this:
code = '...' # the authorization code from above
token = client.auth_code.get_token(code, redirect_uri: redirect_uri)
# => <#OAuth2::AccessToken ...>
If at this point you get an error, it is most likely that the code, which is only valid for a short time, already has expired.
Use the Access Token for API requests
If everything worked out, you may now use the token to do requests against Planio's REST API.
JSON.parse token.get('/users/current.json').body
This will give you some basic information about the user you are acting as. Of course at this point you can stop using the OAuth 2 client and use any other HTTP client to query Planio's API. Let's try with RestClient:
# get the actual token string from the oauth lib
token_value = token.token
# compile the issue data
payload = { issue: { subject: "Hello world" } }
# specify the token in the Authorization HTTP header
headers = { Authorization: "Bearer #{token_value}"}
RestClient.post "https://your-domain.plan.io/projects/some-project/issues.json", payload, headers
# => <RestClient::Response 201 "{\"issue\":{\"...">
And that's it! You successfully created an issue with authorization obtained via OAuth 2.
3. A word on security
As the developer of an OAuth 2 client application it is your responsibility to keep the application secret as well as any auth and refresh tokens you obtain safe - any unintended disclosure may lead to unauthorized access to your users' data.
4. Manage your Authorized Applications
Click on Your Avatar → My Account → Authorized Applications in order to see the list of applications that currently have access to your account.
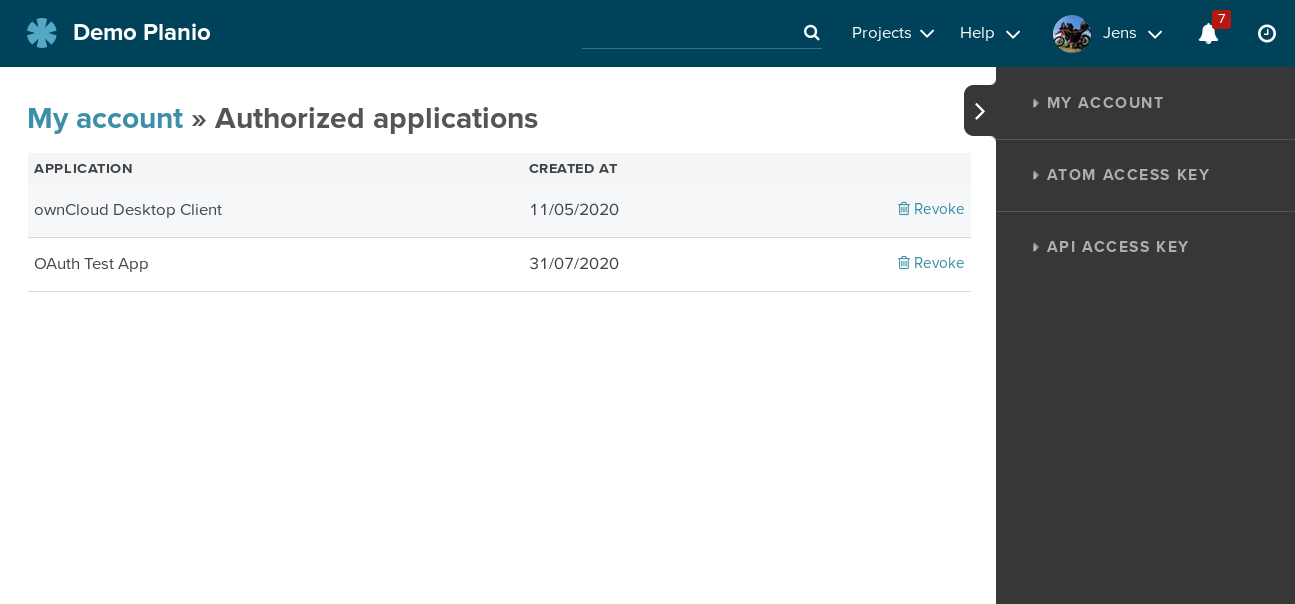
Clicking Revoke will invalidate any access or refresh token that the application might still possess and remove it from the list.
Ohne Kreditkarte und unverbindlich. In nur 1 Minute angemeldet.