- Table of contents
There are two steps to this process. First, you need to prepare a CSV file for import. Second, you have to carry out the import. We’ll cover both in this guide.
1. Preparing the CSV file
You need to export your time entries or time bookings in the CSV format. You can save most Excel sheets as CSV files by clicking on File → Save As… and then selecting Comma Separated Values as the format from the drop-down menu.
Your CSV file can have the following headers. You’ll find a sample CSV file here: example.csv.
| Values | Notes | |
|---|---|---|
| Activity | This field is used to determine the kind of activity. This should map to an existing activity and it needs to be enabled within the target project. You’ll find their names in Project page → Settings → Activities. | This field is optional. Alternatively, you may select a fixed activity for all new time entries when configuring the import. |
| Issue | A time entry may belong to a single issue. Fill this column with the issue ID (e.g. 4711). | This field is optional. If left blank, the time entry will be associated with the overall project. |
| Date | Enter the date in your preferred date format (e.g. MM/DD/YYYY or DD.MM.YYYY). | This field is mandatory. |
| Hours | Enter a number for the spent time in hours (e.g. 15). | This field is mandatory. |
| Comment | Enter a comment describing the work. | This field is optional. |
2. Importing the CSV File
Now, you have a CSV file ready for import. The next step is to import it into Planio. You’ll find the button for the Import on the spent time page in the sidebar.

Then, select your CSV file using the file picker.

On the next page, you can select options for importing the CSV File

| Option | Notes |
|---|---|
| Field separator | You can select between comma separated values or semicolon separated values |
| Field wrapper | You can select between double quotes or single quotes. |
| Encoding | You can select the encoding for the CSV file |
| Date format | You can select one of five date formats (YYYY-MM-DD, DD/MM/YYYY, MM/DD/YYY, DD.MM.YYY or DD-MM-YYYY) |
First you have to select a target project for the import. Then, you have to map the values from the CSV files to time entry fields in Planio. You can select each value from the drop-down menu beside each attribute. You’ll also see a file content preview further down, so you can make sure you’re importing the right data.
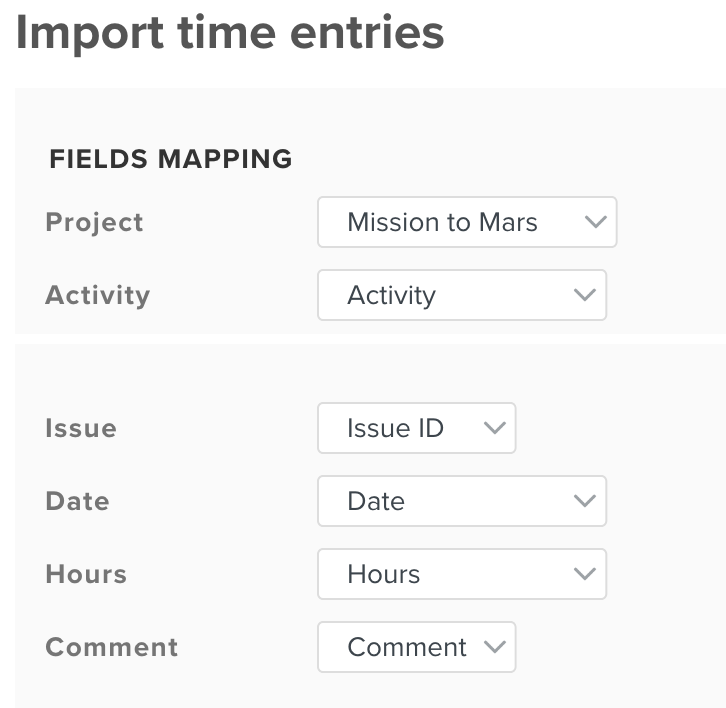
Once you’re done assigning the values to each field, you can click on import to start the import.
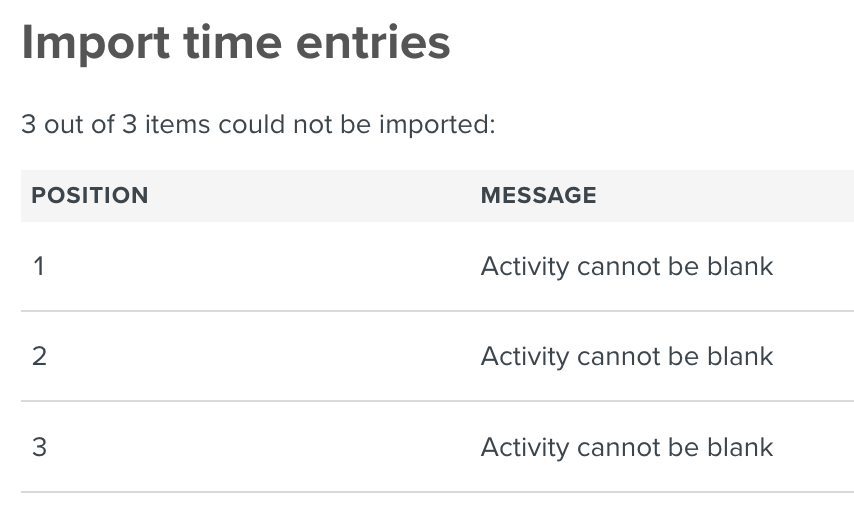
If you encounter any problems, you'll see a page with the errors and the import will not be carried out. You can restart the import once you've fixed the problems in the CSV file.
If all goes well, you’ll see a list of the imported time entries.
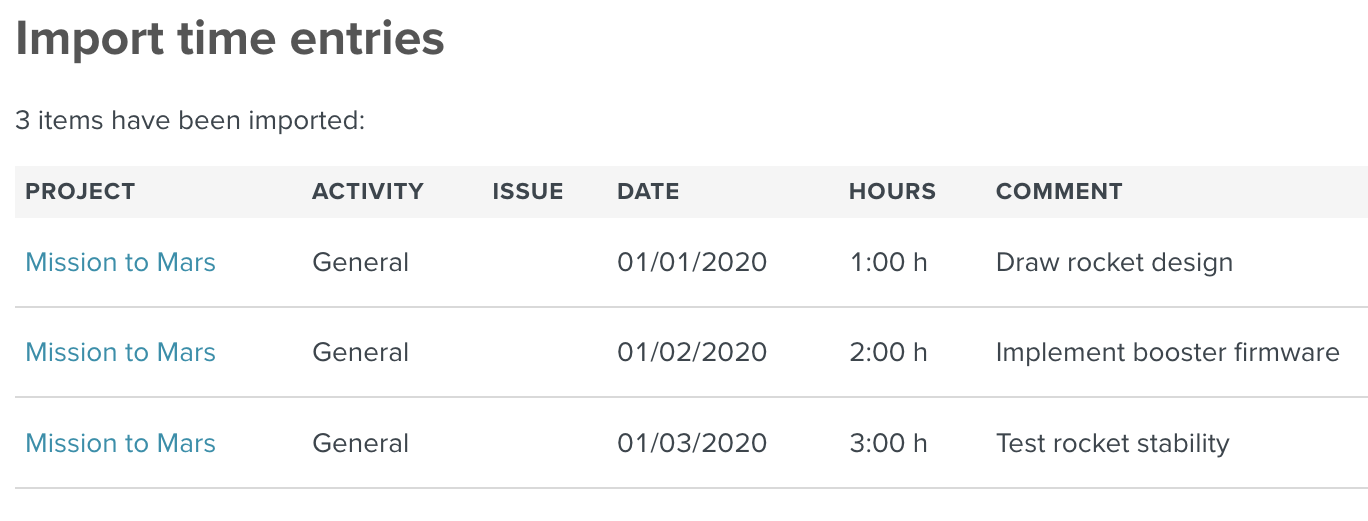
That's how you can import time entries or time bookings into Planio using the CSV importer.
Ohne Kreditkarte und unverbindlich. In nur 1 Minute angemeldet.